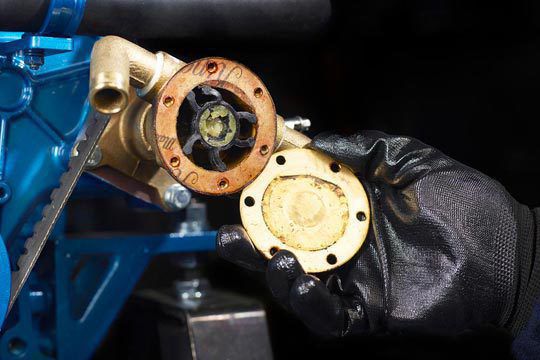
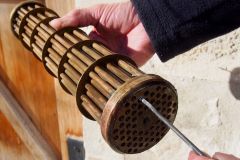
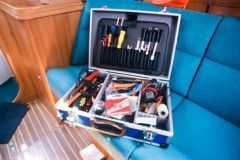
All the photos of this step by step were taken on a Solé Diesel Mini-44 engine, but are generic enough to be applicable on many models from competing brands.
When to change your water pump impeller?
During each maintenance operation, often combined with wintering, it is advisable to take a look at the condition of your water pump. The impeller - commonly known as an impeller - is a plastic wheel whose blades have the annoying habit of breaking. By breaking, they do not damage the engine but cooling is no longer done. The engine heats up and triggers an alarm. To avoid damaging it, all that remains is to stop it... Rather than finding yourself in a delicate situation (port manoeuvre against the current with wind...), you might as well check the condition of your water pump impeller. This mechanical part is a wear part, specific to each engine. Security wants to have a spare one on board at all times - with a paper seal.
Check your water pump in 10 steps:
1 - Close the water inlet valve.
It is often located right next to the water pump.
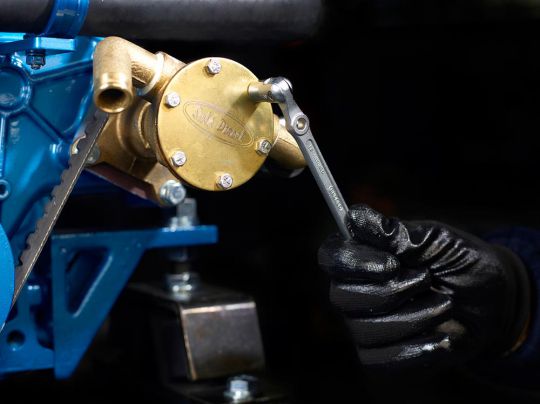
2 - Remove the pump cover.
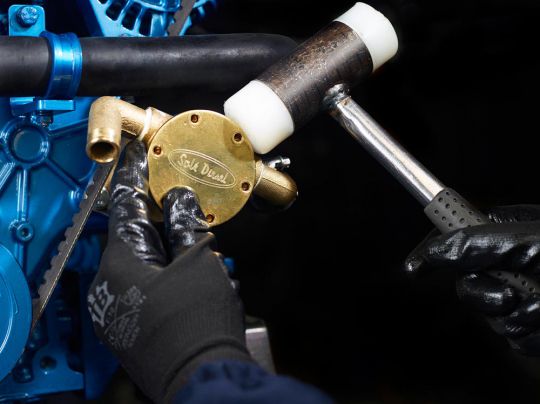
The screws that hold it in place are removed. Using a mallet, remove the cover. It is often glued by the paper seal that ensures watertightness.
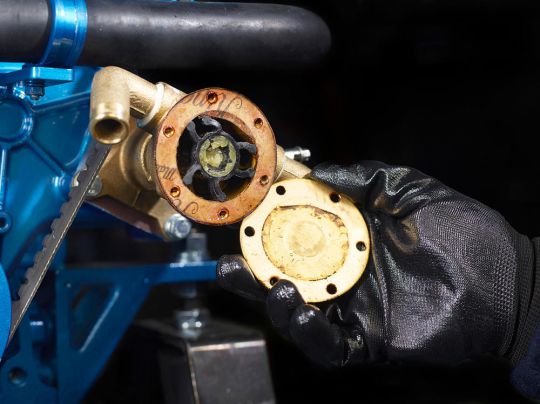
3 - Remove the paper seal.
Few times you can save him: he tears himself apart. That's why you always need a spare one.
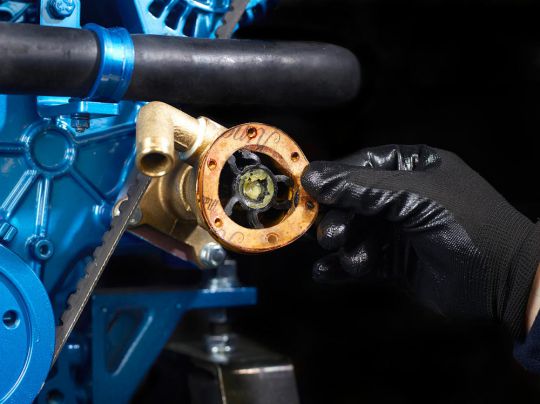
4 - Remove the old impeller from the pump.
You can use 2 screwdrivers to leverage.
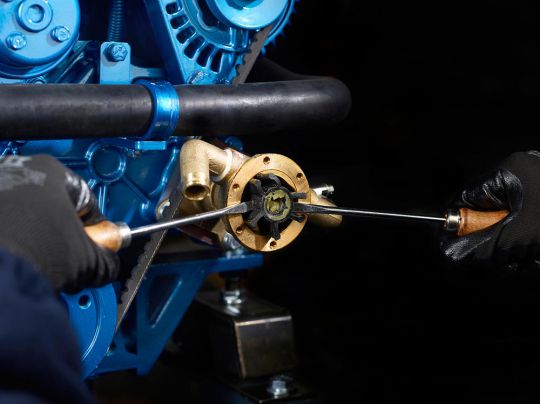
5 - Clean the inside of the pump and the closing plate.
Scrape off the remains of the old seal with a cutter blade. Inspect the impeller. If you see any cracks, you have to change it. The same applies if the fins remain flat (due to a too long immobilization).
6 - Before reinstalling the new finned wheel, the central axis must be greased and wet the fin tips with soapy water or dishwashing liquid - the first "dry" turns will not damage the new impeller.
7 - For reassembly, turn the wheel in the direction of rotation of the motor. The fins are thus installed in the right direction. Press the wheel so that it is firmly in the bottom of the housing.
8 - Replace the paper seal. You can use joint compound to ensure a perfect seal.
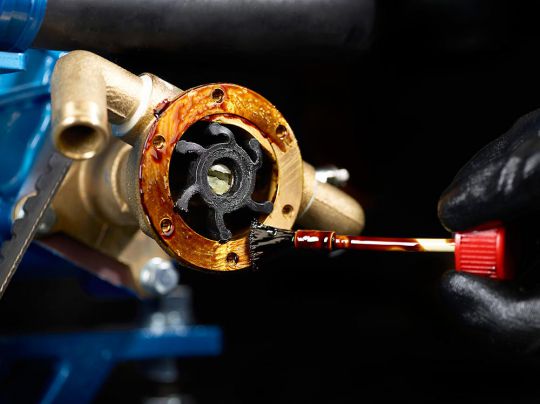
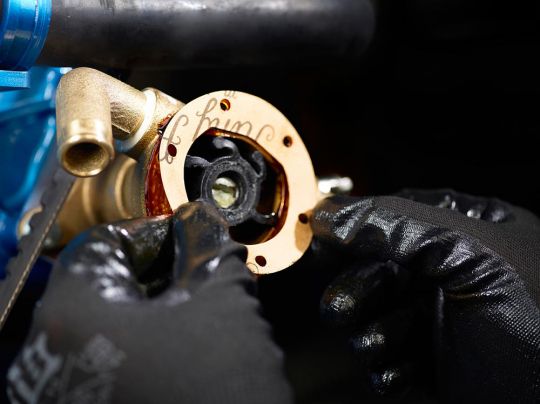
9 - Reassemble the water pump cover and tighten the bolts securely to ensure a good fit and perfect tightness.
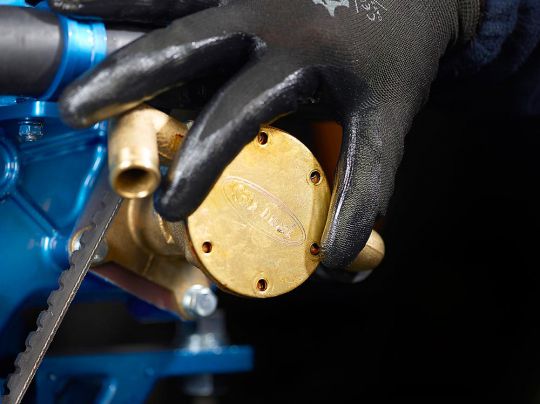
10 - Open the water valve and start the motor, checking for leaks.
