A puncture is always possible on a tyre. This is not the disaster, because whether it is PVC (the most common) or Hypalon, a tire repairs very well. Provided you follow a step-by-step procedure and follow all instructions. We propose you here to follow in 13 steps the repair of a PVC semi-rigid. The only difference with a Hypalon tyre is to make sure you use the right glue. They are different for the 2 materials. If in doubt, use the glue provided in your first aid kit.
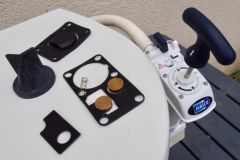
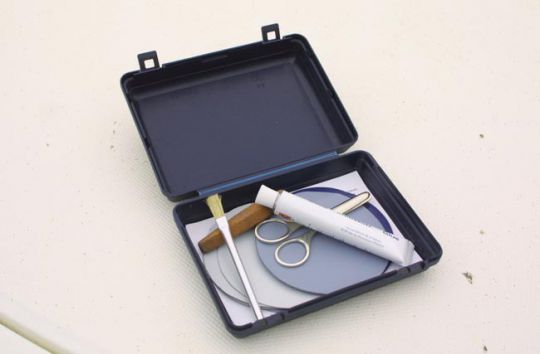
The repair kit Tyres: Tyres from the Annex to the semi-rigid come with an accessory kit that contains a basic repair kit. It will be enough for a small hole but not for a large tear.
REPAIR STEP BY STEP
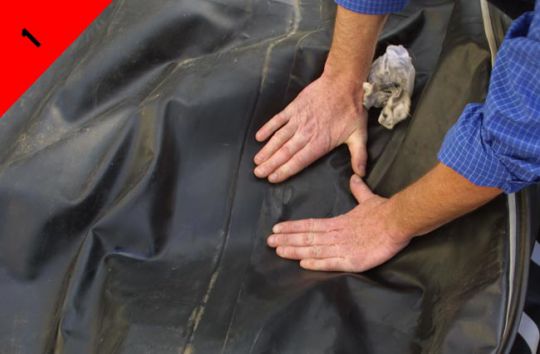
1 - Start by spreading the surface to be repaired. With the blood sausage well deflated, you position yourself on a flat surface.
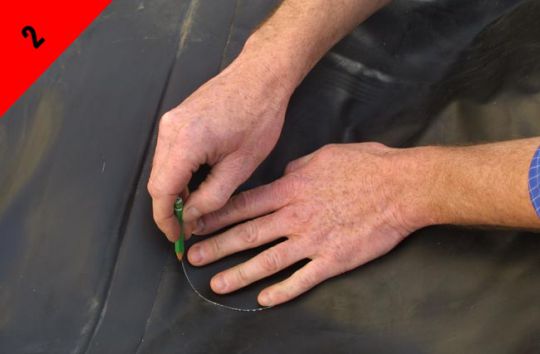
2 - Choose a patch larger than the hole. Allow at least 3 cm more all around. The room must not have sharp corners. If it is rectangle, round the corners with scissors. Trace the patch on the bladder with a pencil.
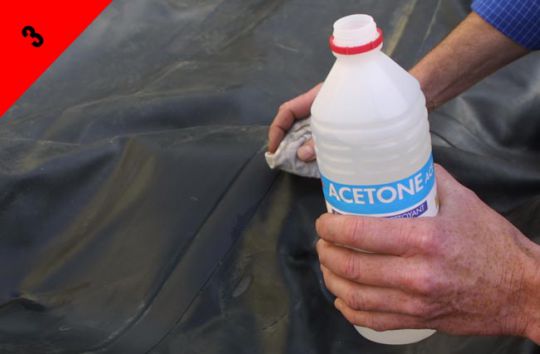
3 - The surface to be glued is degreased with acetone. Do not pour acetone directly onto the bladder, but use a cloth soaked in acetone.
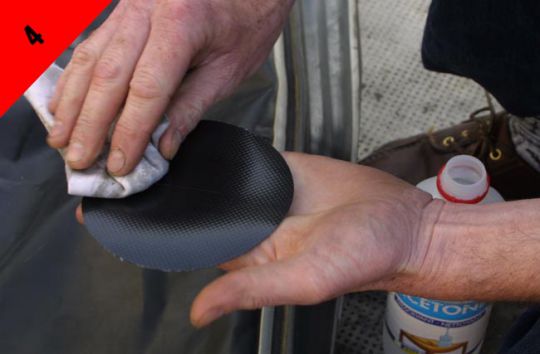
4 - In the same way, the patch is degreased to ensure a good setting of the glue.
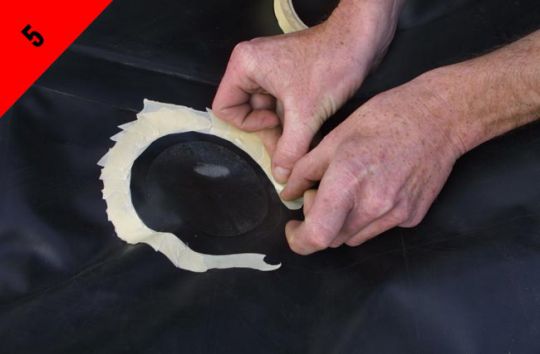
5 - Adhesive marks are hard to remove. To avoid a laborious cleaning session, the gluing area is delimited with masking tape. This step is not mandatory but the cleanliness of the final work is strongly affected.
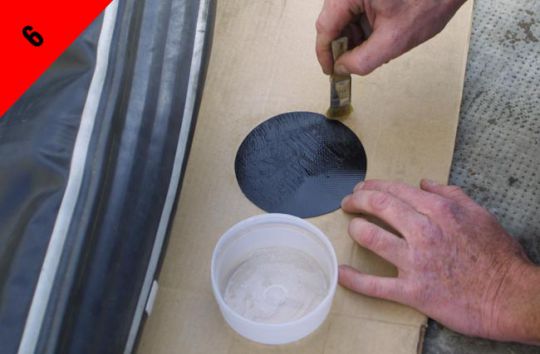
6 - Glue the patch with the special PVC glue. Use a brush for this. Insist on the perimeter. Do not apply a thick coat. Indeed, you will need at least three coats before installing the patch.
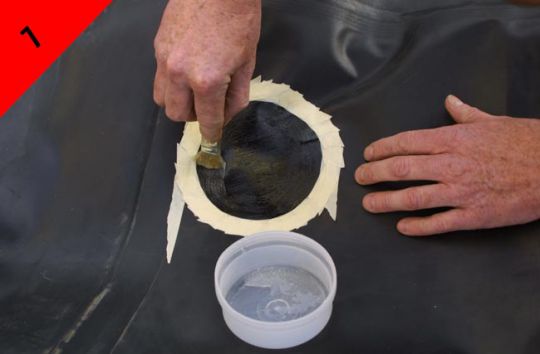
7 - Just like the patch, the damaged bladder is glued with the brush. Pass the glue well over the edges to spread it all around.
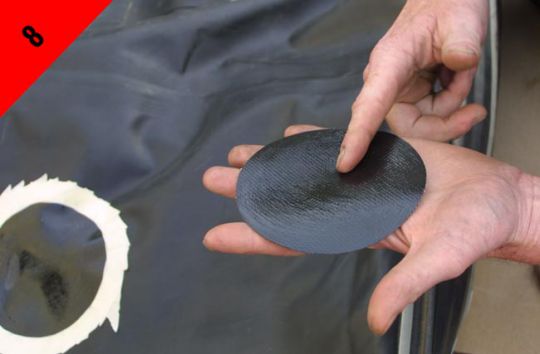
8 - It takes 3 layers of thin glue (too thick, they will be hard to smooth afterwards). Between each coat, before applying the next coat, make sure that the glue no longer sticks! The finger must not adhere to the substrate. Allow about 10 minutes between two layers depending on temperature and hydrometry.
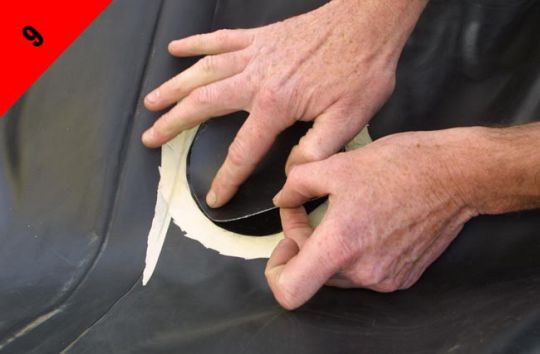
9 - Once the 3 e after the glue layer has passed and after waiting about 10 minutes until it no longer sticks to the finger, install the patch accurately. Indeed, the setting of the glue is instantaneous. You can't stick the patch on and off several times. Take a look at it!
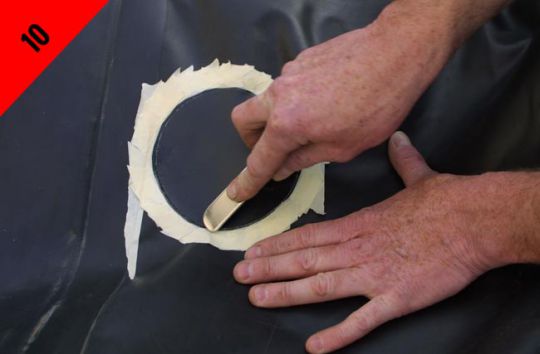
10 - Marouflez the area with a rounded tool such as the handle of a spoon for example. Smooth from the center to the edges to release air bubbles. Finally, insist on the perimeter.
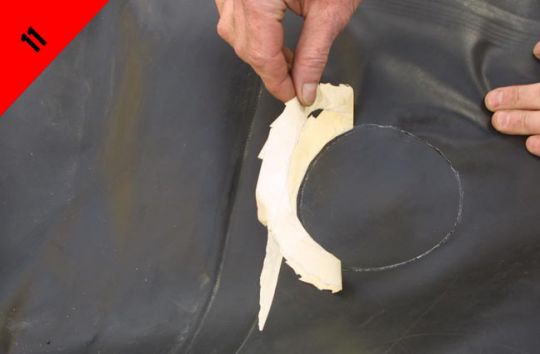
11 - The masking tape can then be removed.
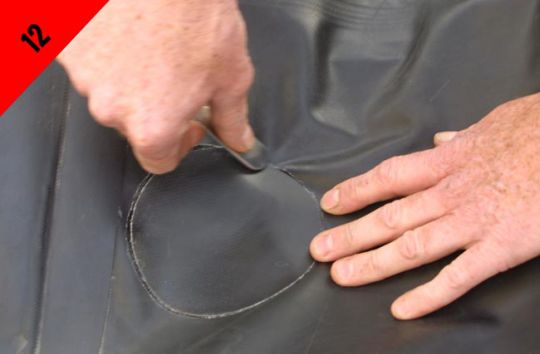
12 - Punch the edge again, which may have come off slightly if the adhesive is slightly under the part.
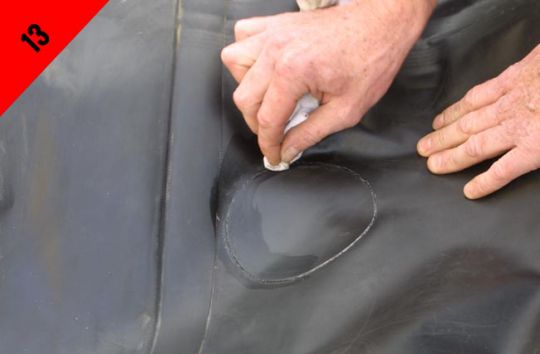
13 - Clean the perimeter with acetone. Be careful not to get too wet, otherwise the acetone may penetrate under the part and take it off.


