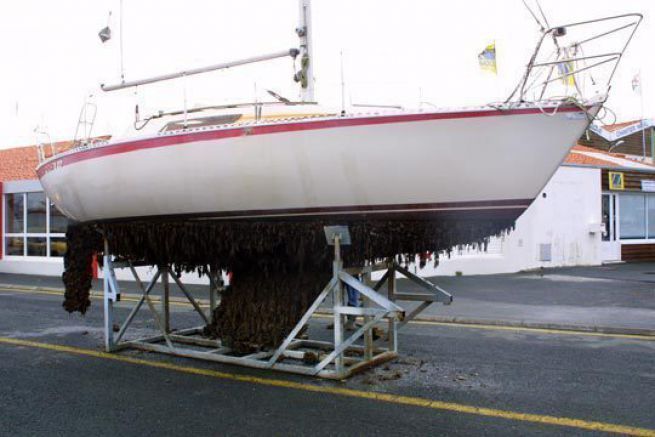
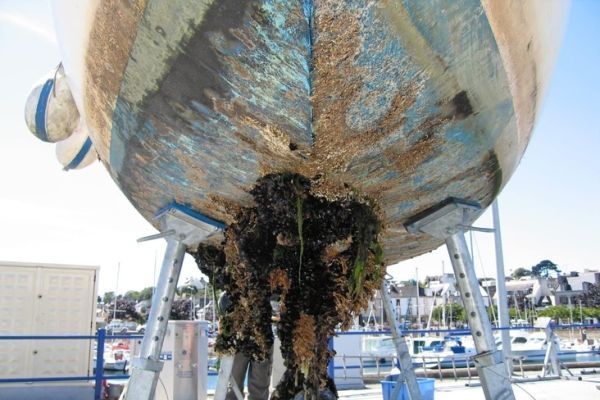
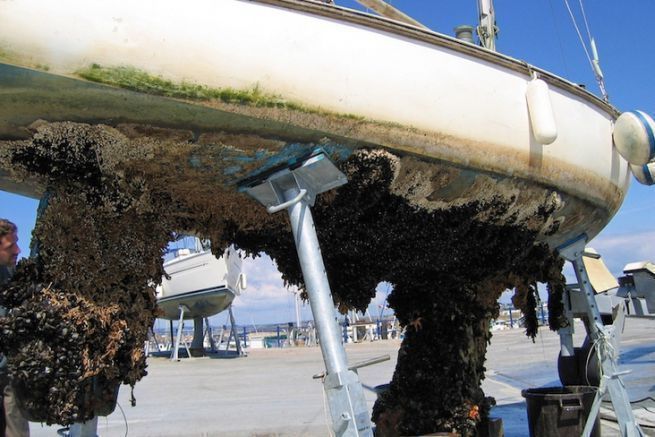
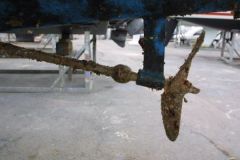
We have followed the careening of a sailboat, but the operations are similar on a motorboat with some specificities according to the type of propulsion.

1 euros Take the boat out of the water, craning mandatory.
It is now forbidden to do a careening on a slipway. The careening area must be equipped with tanks for collecting dirty water. You must therefore use a crane, which unfortunately costs money. When you put your boat in the straps, remember to take in the log probe. This will protect the fins. For sailboats, keep a scraper in your hand during rigging. This will scrape the underside of the keel before the boat rests on it.
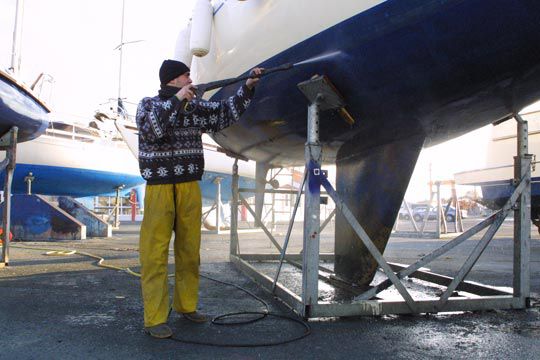
2 euros Clean the hull
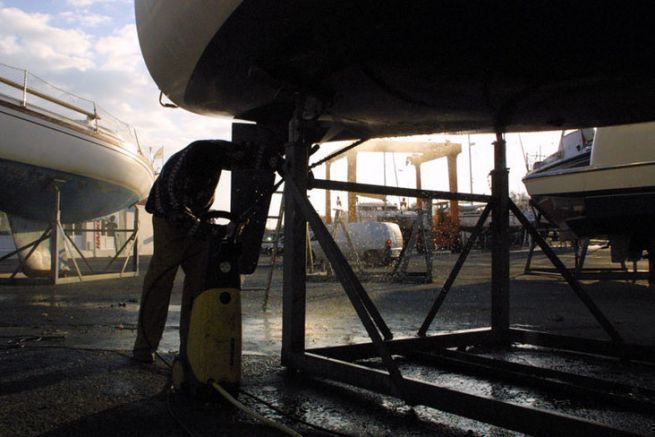
The high-pressure cleaner is ideal for this job. Beware of its power, which can damage the gelcoat of the hull. It is advisable to keep a distance of 20 to 30 cm from the hull and to present the nozzle at an angle of about 45° on the hull. This reduces the power of the jet and avoids getting a backflow of water in the face! In any case, we recommend a good pair of boots and a raincoat to protect you.

3 euros Scratch the difficult areas
If mollusks, often Chinese hats, remain stuck, do not insist on using the high pressure cleaner. Use a scraper to remove them. If limescale remains on the hull, it should be sanded. Use fine sandpaper with water. Do not sand dry, as antifouling dust is very harmful to humans.

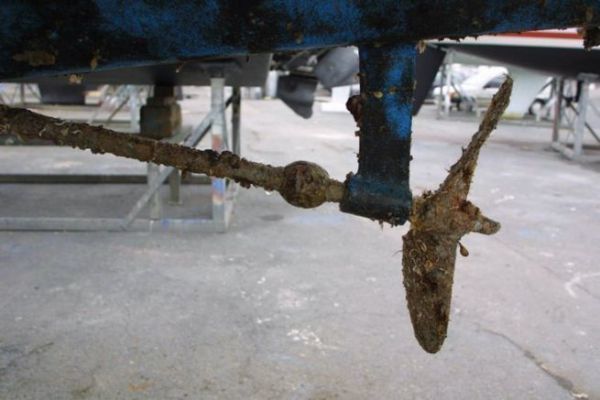
4 euros Clean the propeller and the shaft
In general, the propeller and propeller shaft are not protected by antifouling. Indeed, there are specific solutions but they do not give very good performances. In any case, never use the hull antifouling on the propeller or shaft. The metals it contains may cause corrosion.
The cleaning of the propeller is done by scraping and sanding. Avoid hydrochloric acid which is very polluting and dangerous to use.

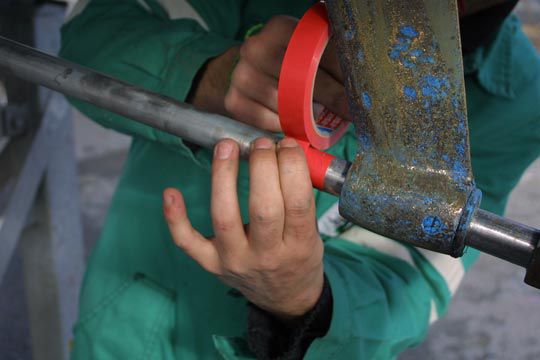
5 euros Mask the areas not to be painted
With adhesive tape, we mark the waterline. We also mask the areas that should not be painted, such as the depth sounder (the metal in the paint clouds the echoes), as well as the locations of the anodes. To work properly, the anodes must be in direct contact with the metal. Paint acts as a poor insulator.
Be sure to apply the adhesive so that the paint does not slip underneath.
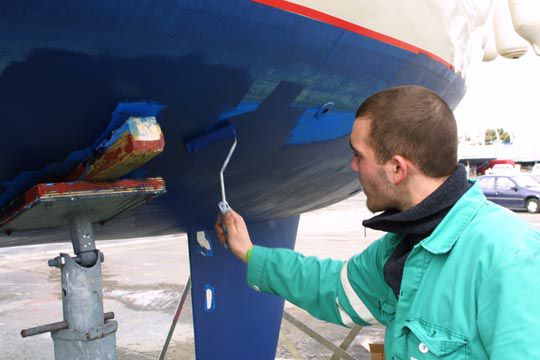
6 euros Apply antifouling
To paint a hull, it must be completely dry. That's why fairing is usually done over 2 days. The first day is for the water removal and cleaning, the second day for painting. The antifouling is applied with a roller and a brush in complex areas. Follow the manufacturer's recommendations (written on the can).
Rather than trying to clean tools, use disposable tools. Keep just one brush for touch-ups when you return to the water. To keep the brush from drying out, soak it in water while waiting for the release.
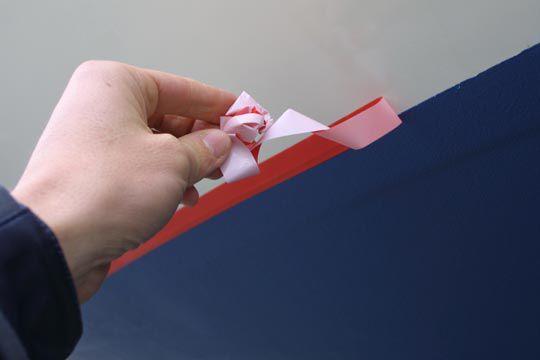
7 euros Remove the adhesive
Immediately after applying the antifouling (2 coats if necessary) remove the adhesives. If you wait until the antifouling is dry, it may come off with the adhesive. Also, masking tape does not like to sit in the sun. Its adhesive transfers to the hull and becomes difficult to clean.
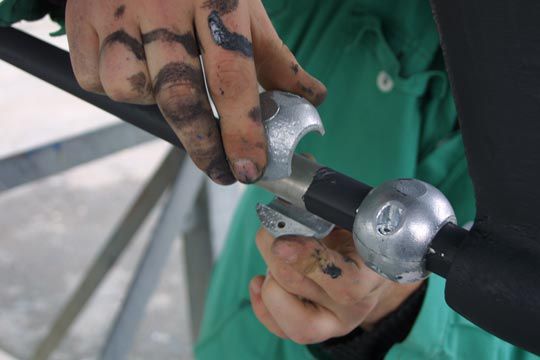
8 euros Change the anodes
Once the painting is finished, the new anodes are repositioned. Don't hesitate to have a set of anodes in advance. It's not expensive and avoids the store being out of stock, just on the day of the water release.
9 euros Finish the areas hidden by the ber
When the crane operator lifts your boat back into the water, you will see the areas hidden by the skids. This is the time to scrape them off and paint them with a coat of antifouling.

10 euros Release
Before putting the boat back in the water, check that the drying time of the antifouling is respected. This will guarantee its adhesion and its durability. The boat is then back in its element. Check that it does not take on water through the gland, the valves or the sounding hulls.
TIPS AND TRICKS
- Change the color of the antifouling between coats. This will allow you to see the wear of the antifouling (especially if it is an erodible antifouling).
- Force the dose of antifouling on the waterline. This is the area that gets the most dirt because it is more exposed to light. Don't hesitate to apply an extra coat of antifouling in this area.
- Don't tell yourself that leaving your boat in port guarantees a clean hull. On the contrary, the more you sail, the less organisms settle in. Staying at the dock gets the hull the dirtiest.
