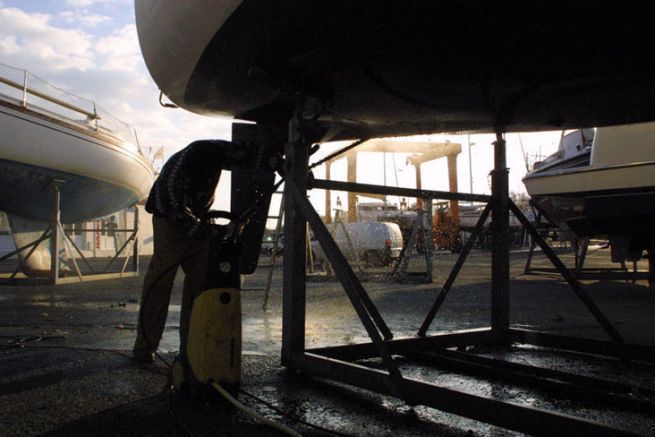
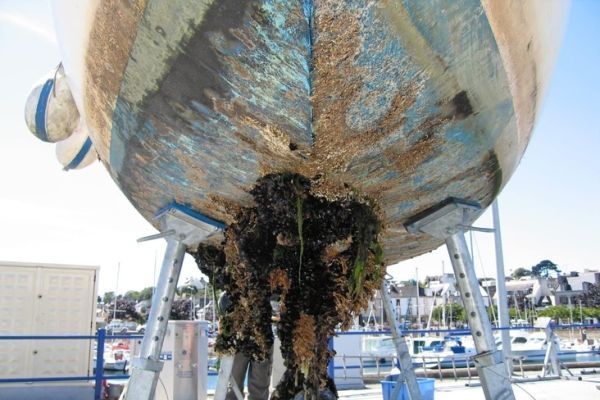
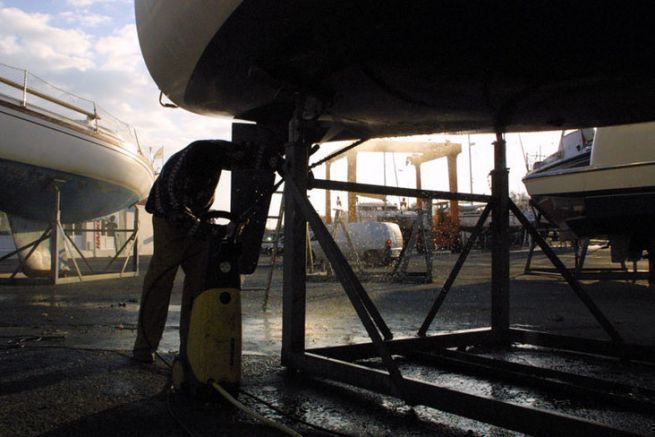
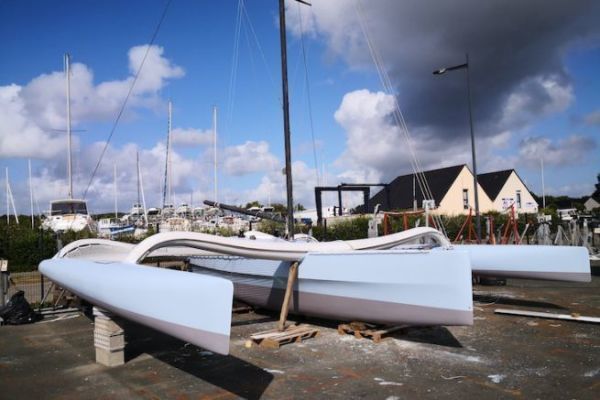
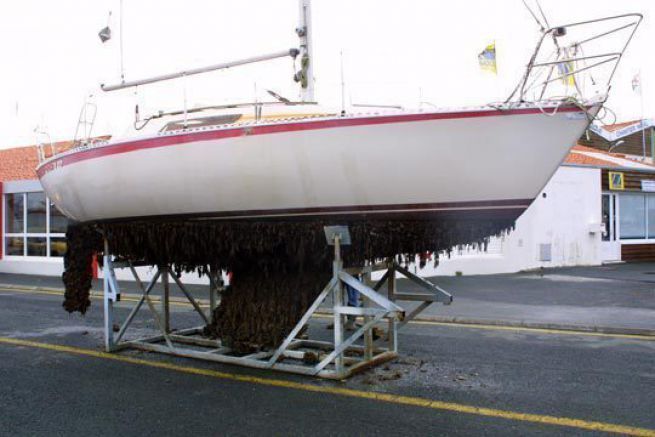
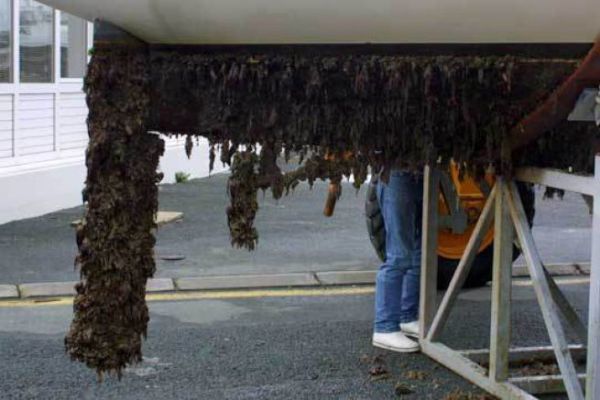
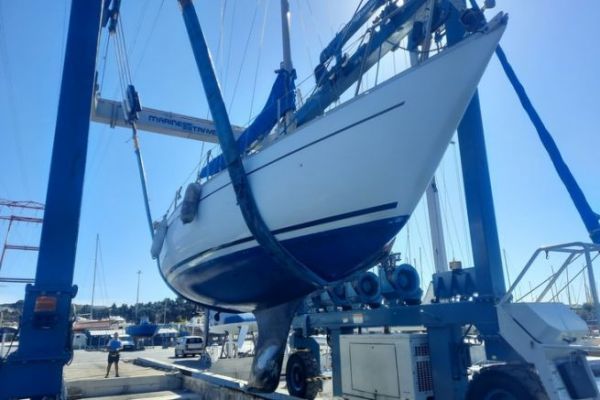
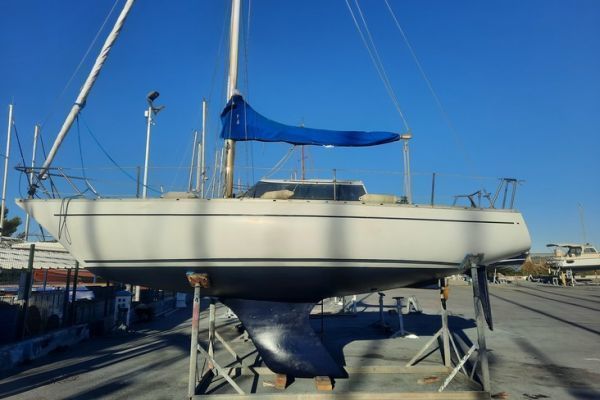
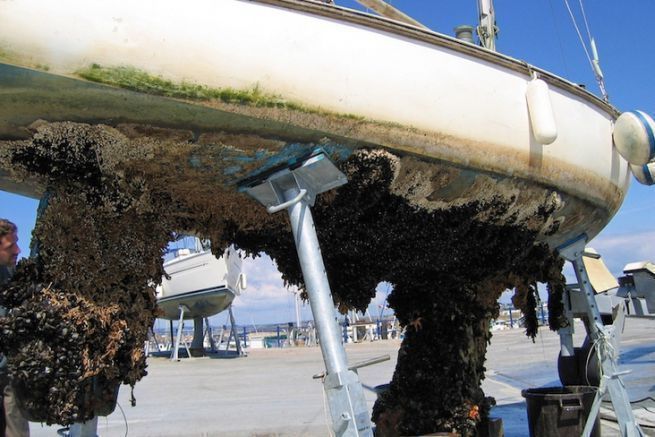
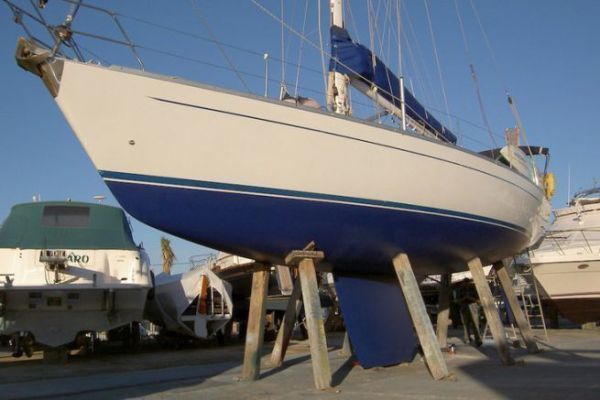
We have taken the example of a sailboat fairing to illustrate our remarks but the indications can also be used on a motorboat.
Water outlet
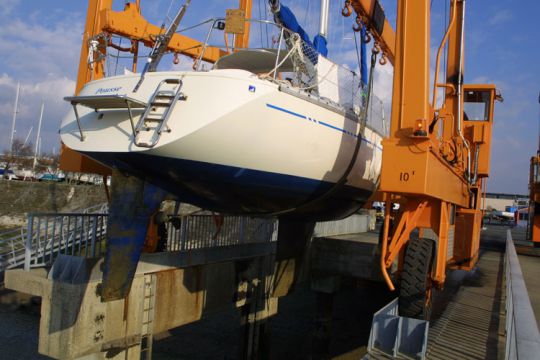
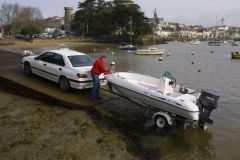
Except for transportable boats, the water exit is often done by a professional. After having made an appointment with the crane operator and presented the boat under the travel-lift, we let the professionals speak.
The only precaution is to make sure that the loch probe is well retracted before putting on the straps. The fins that protrude under the hull do not like the contact with the straps.
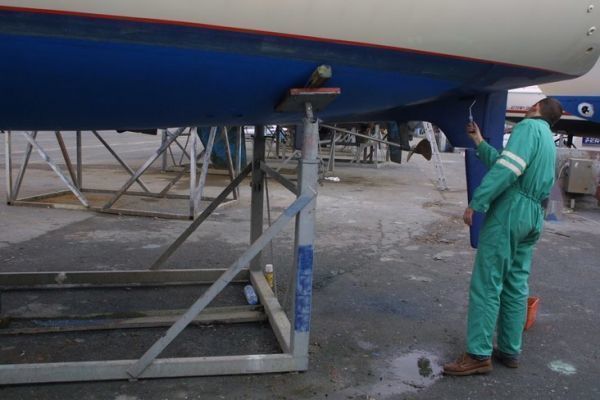
Take advantage of the fact that the boat is in the straps to scrape the bottom of the keel with a spatula. Once installed, you will not have access to these parts.
Wedging
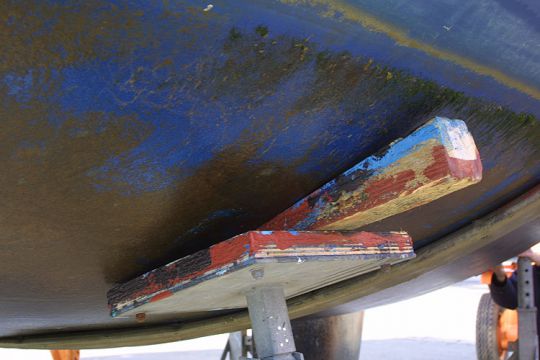
It is also the crane operators who set the boat on their cranes. Even if they are often competent and know their job well, you can indicate to them, if you know your boat well, the most solid areas with bulkheads or varangues to wedge at these places.
Checking the propeller shaft
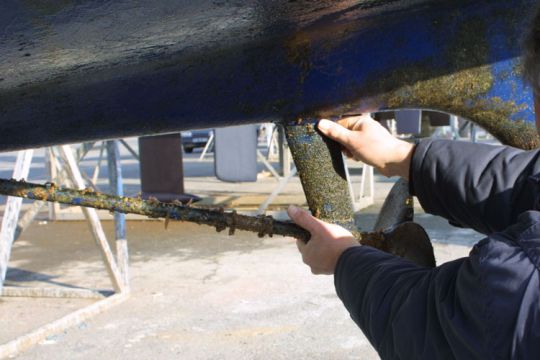
The exit of water is the occasion of various checks. Considering the price of a crane, it is better to take advantage of these moments to check all the immersed parts.
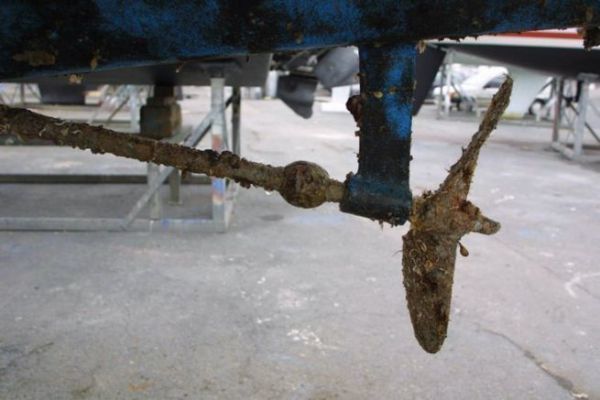
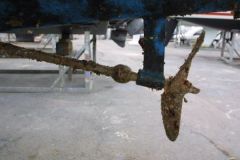
By taking the propeller shaft with full hand, we try to make it move. Pay particular attention to the hydrolube bushing at the shaft seat. A worn bushing can be seen if the shaft has play in this area. Be careful, a worn ring causes vibrations that make the motor suffer. This wear part costs only about 20 euros.
Game in the rudder
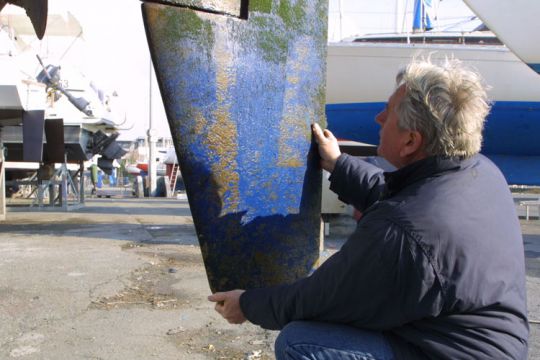
Taking the rudder in hand, look for play by trying to move it forward or sideways. Ease the rudder by picking it up from underneath to check for play. Too much play shows worn rings: change them! This judgment requires experience: a rudder should have play, but not too much.
Traces of rust on the keel
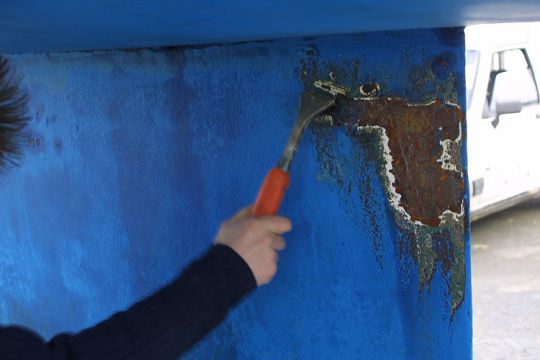
Inevitably, cast iron keels will eventually rust. Without having to redo your entire keel treatment every year, you can scrape the "infected" area, expose it and coat it with an epoxy primer. This repair will not last long, but a complete keel renovation requires several days of dry docking for the cast iron to dry.
Operate all valves
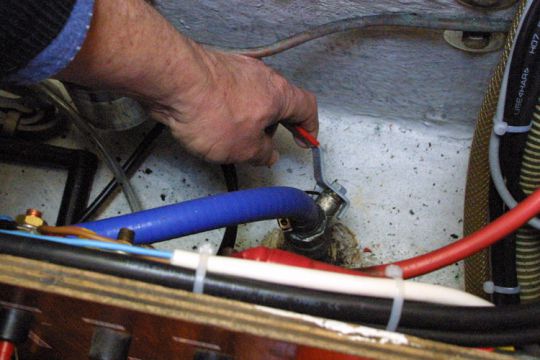
The exit from the water should also be the occasion to check all the valves on board. Once dry, we operate all the valves (open-close) to find the one that could be seized. The lever should not be too soft (which could mean a broken shaft), nor too hard (corroded nuts). If a valve resists, do not hesitate to change it. The safety of the boat depends on it.
Electronic instrument probes
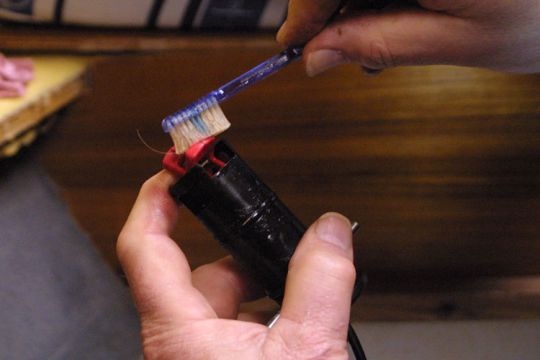
When the boat is dry, it is easy to remove all the probes, clean them and check them. For cleaning, you can use a toothbrush. This will remove the shells in the propeller blades of the log. Be careful, these fins are fragile. Go so gently not to tear off the magnet stuck on one of the blades.
Do not paint the sonar unit with antifouling. It interferes with the signal. If it has been done, scrape off the old paint and put the transducer back on clean.
Maintenance of the probes
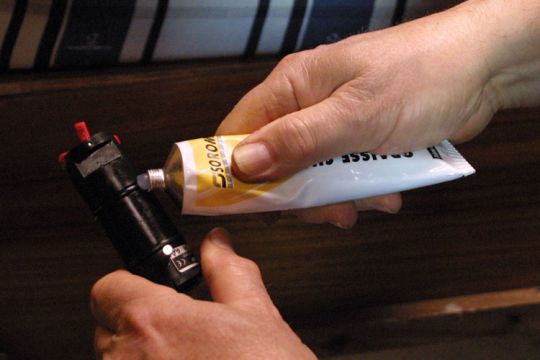
The loch fin requires no maintenance. Just a cleaning, but no grease! On the other hand, the O-rings (the black, round seals on all probes) that seal to the through-hull should be greased with silicone grease. Check that they are not stuck to the bottom of the throat. If in doubt, change them!
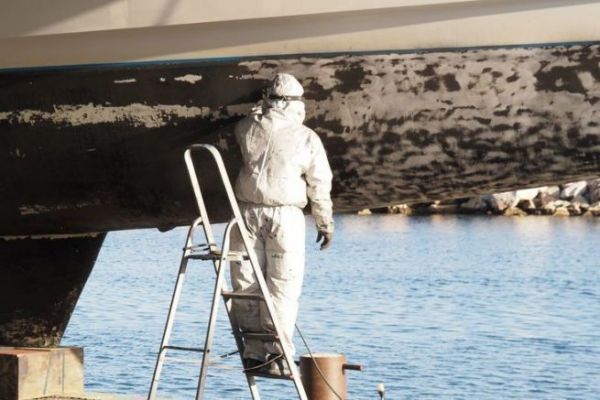
Once all these verifications are done, we can then leave the place to the fairing itself: cleaning with the high pressure jet, antifouling paint and replacement of the anodes
