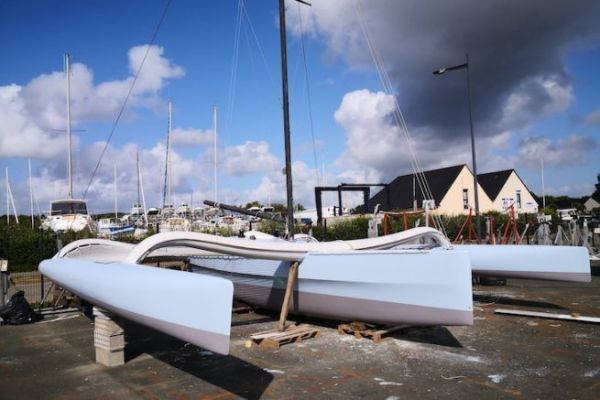
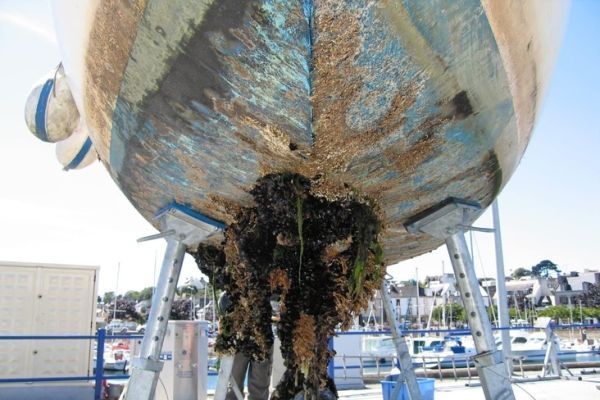
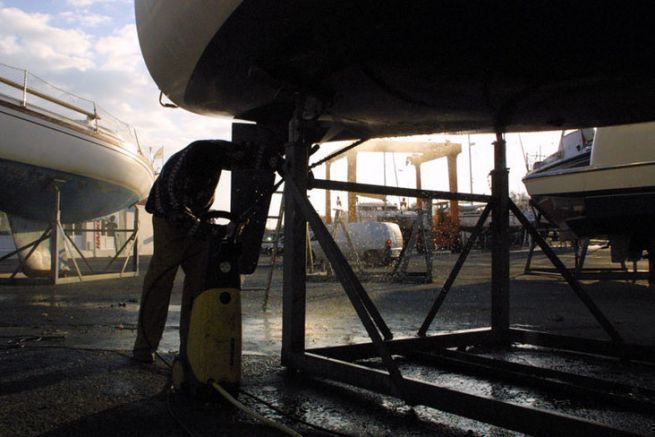
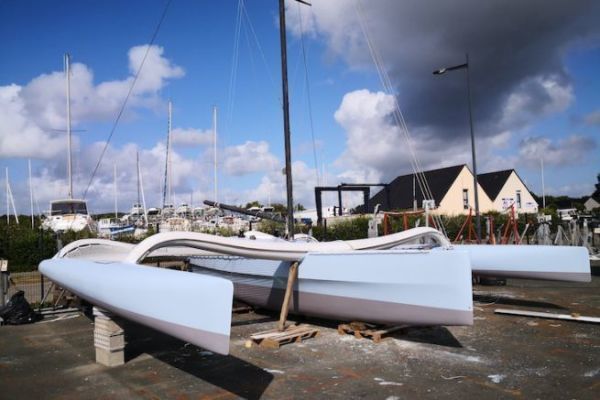
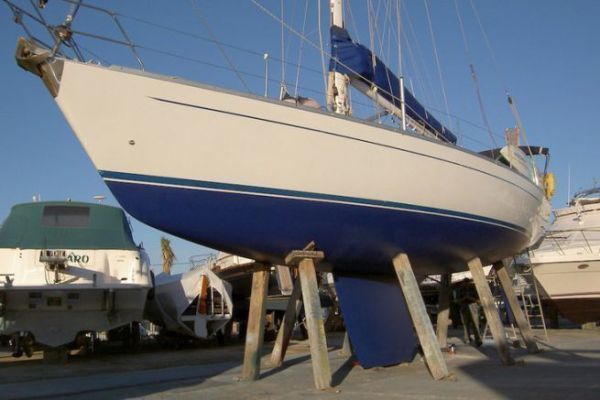
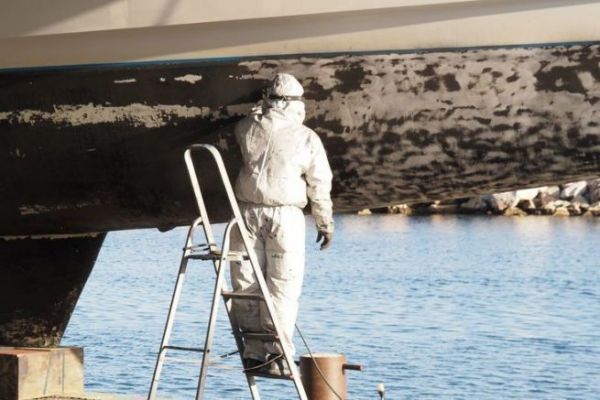
For the renovation of this small trimaran, the hull has been completely sanded. A few hours of scraping and sanding allowed us to return to the original matrix, an epoxy primer. But on most old boats, it will be the original gel-coat.
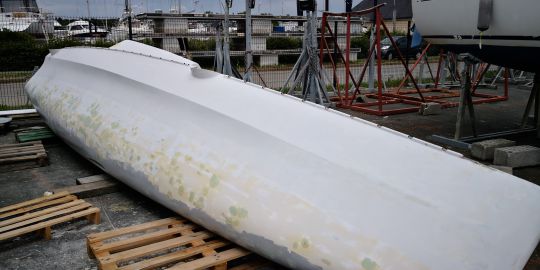
Repairs were carried out with epoxy putty and the hull was allowed to dry well for several months. Following the advice of the manufacturer Soromap, we will use two-component epoxy products to restore the hull's watertightness.
Be careful, this type of product should not be used on a damp hull, as it would trap moisture between the hull and the paint, creating an ideal environment for triggering osmosis.
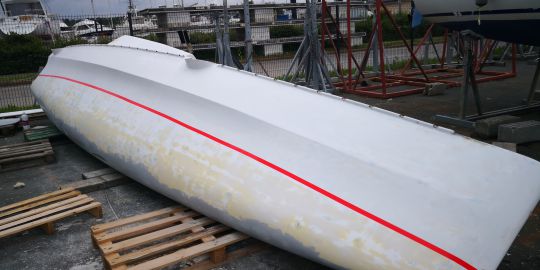
So for the quality of your renovation, it is essential to let the hull dry out of the water for several months. If there is any doubt as to whether moisture remains in the hull, many yards use moisture testers to obtain accurate measurements.
Which products to choose?
In order to guarantee the best possible watertightness of the hull with the constraints of an outdoor building site, I looked for a product that can be applied in great thickness with a sufficient overcoating time to avoid the endless hours of sanding.
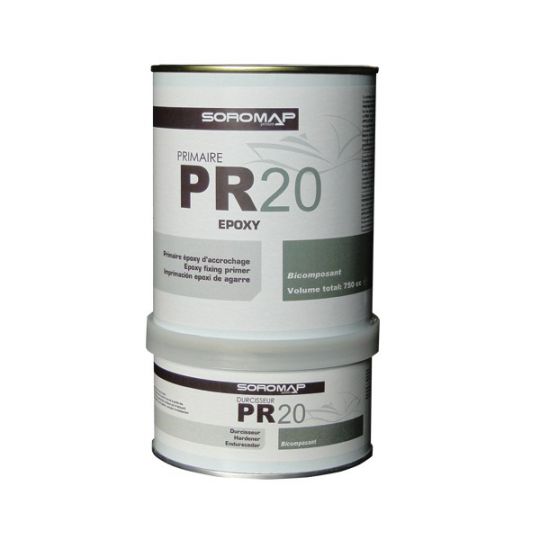
In the Soromap range, I chose to apply a coat of epoxy primer PR 20. The primer is expected to provide excellent adhesion on any substrate. It will be a perfect base for applying an epoxy sealing paint, the SC 20 undercoat.
An undercoat for waterproofing
By respecting the thickness recommended for the epoxy undercoat, it can give a real watertightness to the hull and protect it for many years.
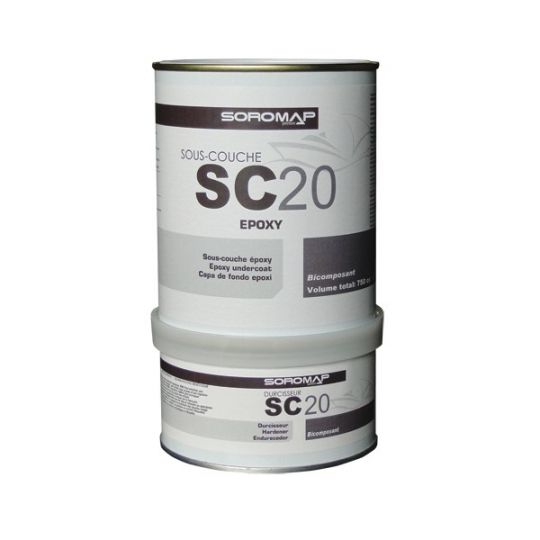
The application of SC20 in high thickness makes it possible to limit the number of coats. For this outdoor site, this is essential. Indeed, the application of epoxy products requires a low level of humidity. Between the morning dew and the afternoon heat, the weather forecast allows me to plan two layers of SC20 in two days.
I had 24 hours to overcoat the hull, after which it would have been necessary to sand it. With this epoxy treatment, primer and undercoat, I ensure an excellent watertightness of the hull. Furthermore, the hardness of the epoxy allows groundings at low tide to be envisaged with complete peace of mind.
The implementation
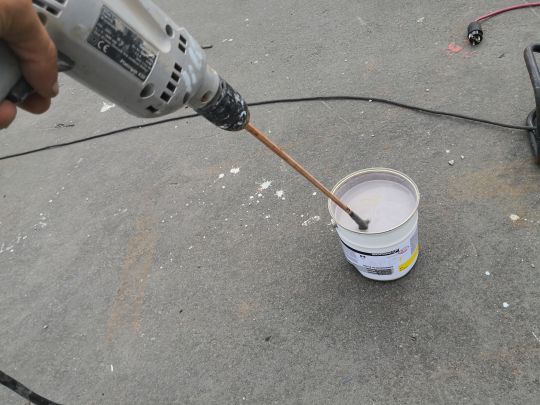
The hull must be clean, sanded, degreased and dry. Mix the primer well using a drill and a mixer, the fillers that make up the product are usually agglomerated at the bottom of the pot.
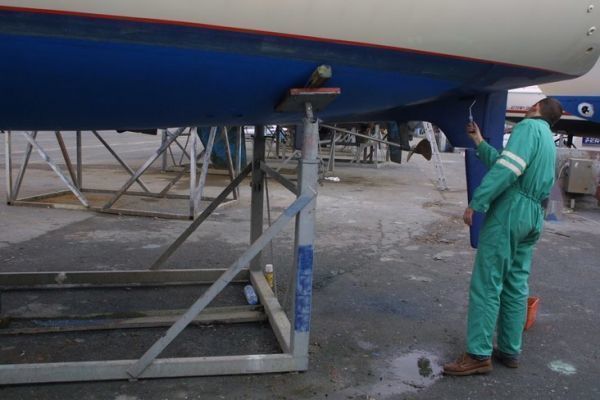
?À As with other paints, the primer must be applied in cross-coats. A first pass from bottom to top and a second pass from left to right, always finishing in the same direction. For a good finish of the hull, care must be taken to avoid overthickness in areas where the layers overlap.
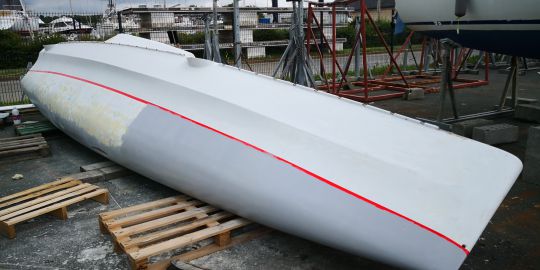
In the event of roughness to the touch, bubbles or drips, do not hesitate to allow the primer to harden completely before sanding. Sanding with 300 grit and preferably with water will result in the smoothest possible hull.
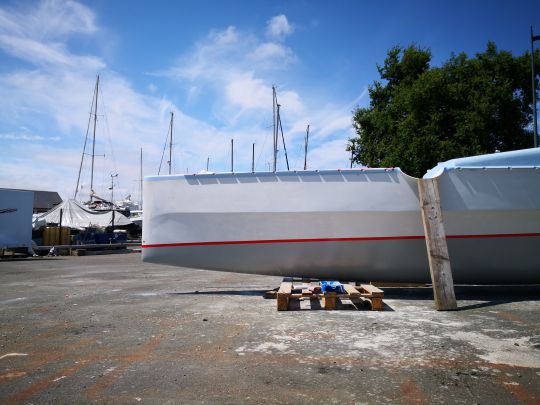
After total hardening, the antifouling remains to be applied... but a final sanding of the hull is necessary.
