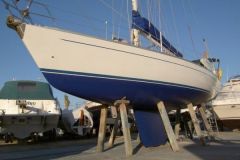
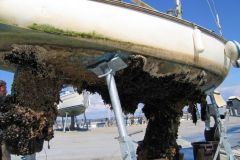
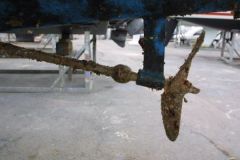
Except for the lead keels reserved for regatta yachts, the keels of our yachts are made of cast iron. Cast iron is a porous metal. Soak your keel in water and rust will inevitably appear. On leaving the factory, the skittles are just treated with a simple primer before applying the antifouling. This treatment lasts a few years before rust spots appear.
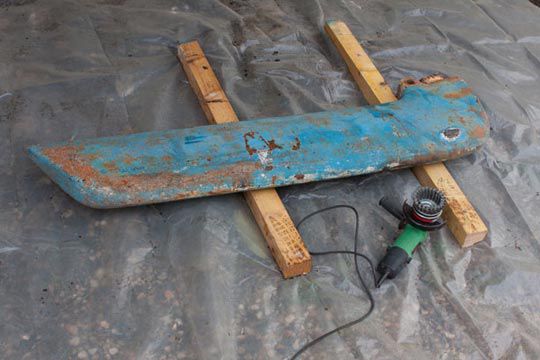
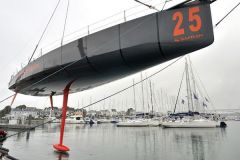
To get out of it and return to a beautiful keel on which the water glides without braking, you have to treat the keel by applying an epoxy resin system to recreate a watertight barrier around the cast iron.
NB: processing times were measured on the keel of a Sun Way 21, which was removed from the boat (and therefore accessible) measuring just over 1 square metre (both sides included).
STEP 1 : Stripping down to metal
Processing time: 3 hours
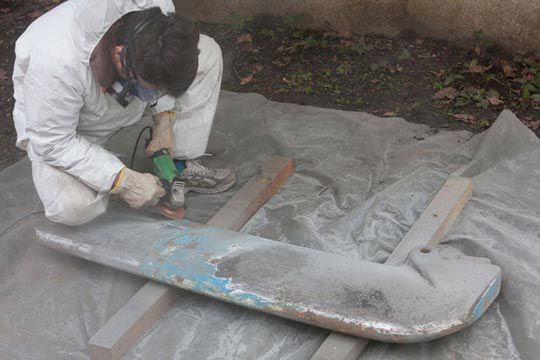
Before any treatment, all traces of rust must be completely removed.
- Ideally, sandblasting should be practiced. Sprayed with a strong pressure, the sand goes well into all the holes. This operation is difficult to do yourself (you don't often have the equipment on hand), but you should know that it is not too expensive to carry out by a professional. Count between 30 and 60 euros per square meter (2015 rate). Some professionals offer packages between 250 and 400 euros for the keel of a 30-foot sailboat.
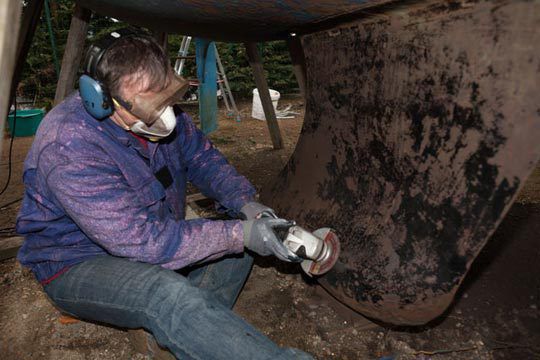
- If you can't sandblast, you can disintegrate the cast iron. Using a metal disc, the keel is scraped off, being careful not to dig out the areas that are not rusted. The work is less clean and especially the rusty gaps are not cleaned thoroughly. It is possible to finish using a wire brush mounted on the grinder.
If the keel has been out of the water for a long time, we can go directly to step 4.
STEP 2: Allow the cast iron to dry
Processing time: as long as possible
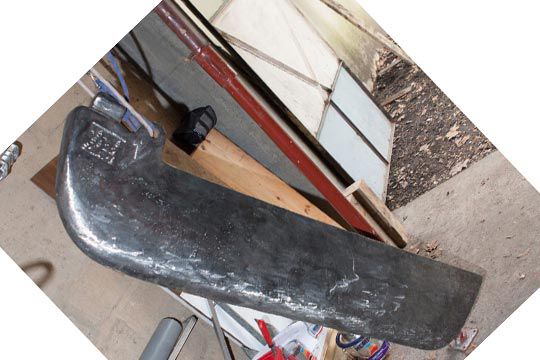
Before wrapping the keel in an epoxy wrap, make sure it is completely dry. Alas, it is impossible to completely dry the cast iron. Therefore, the treatment we are going to apply will last about 5 years, but not much longer. During this drying process (if possible several months), the keel will rust again. It's normal, but it's okay. Naked, the melt dries faster. You can leave the keel outside, even in the rain, it will still dry.
To speed up the drying process, oxalic acid can be used.
STEP 3: Bare the metal again
Processing time: 1 hour
Before the final treatment, the keel must be exposed again to remove the thin layer of rust that will have returned since the first pickling. Fortunately, it's only superficial. Rust doesn't stick.
STEP 4 : Passivating cast iron
Processing time: ½ hour
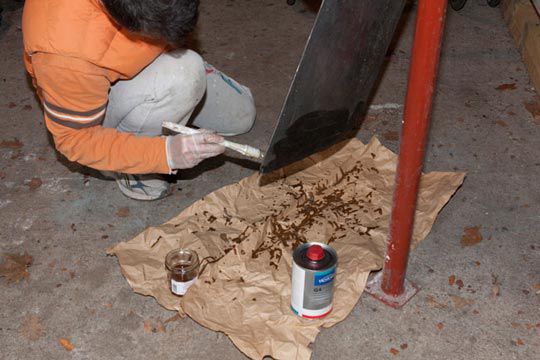
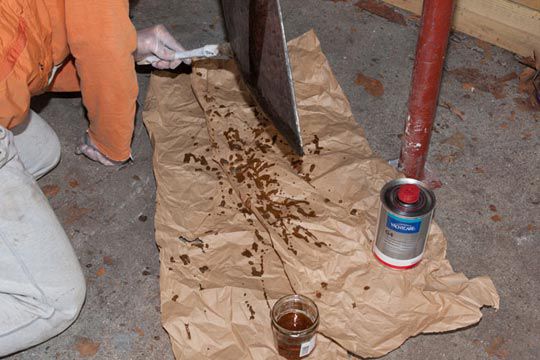
This involves applying a passive film that significantly slows down rust. For this purpose, paint manufacturers offer zinc-filled systems. These products are there to provide protection even if an impact breaks the first coat of epoxy. This product is applied with a brush (not a roller!), taking care to ensure that it penetrates into all the gaps.
STEP 5 : Apply Epoxy Primer
Processing time: ½ hour
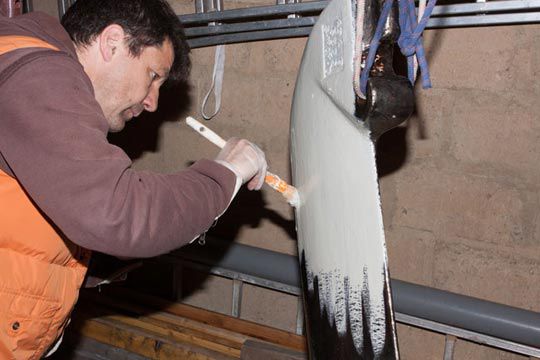
Using a brush (no roller for the first coat), a coat of epoxy primer is applied to ensure the bond between the paint and the keel. For this first coat, a brush is used to make sure that the resin penetrates into all the interstices. Pay attention to the compatibility between the undercoat and the primer. Some primers can be applied on a still fresh (sticky) undercoat 1 to 2 hours (depending on temperature) after application.
STEP 6 : Plaster to fill in the holes
Treatment time: ½ hour to apply the filler then 2 hours to sand
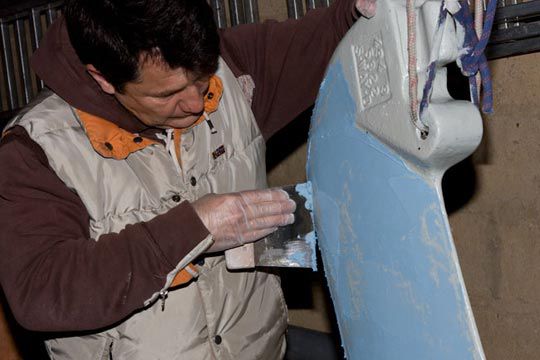
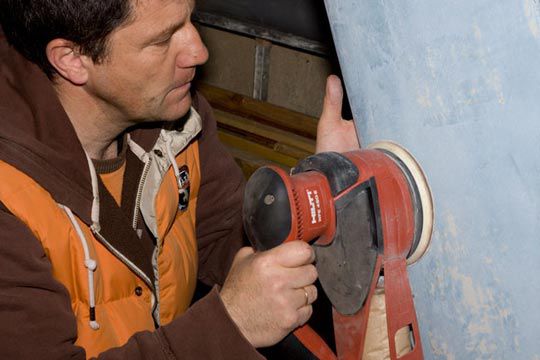
With an epoxy coating, we make up for the defects dug by the old rust. Several coats of filler can be applied and sanded between each coat (wait at least 12 hours for filler to dry before sanding). The more finely worked (fine grit sanding), the better the final result will be.
Step 7: Six coats of epoxy primer
Processing time: ½ hour per coat
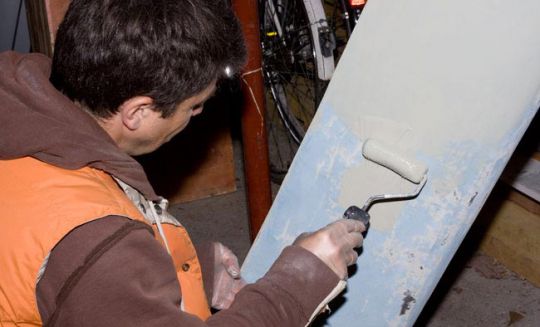
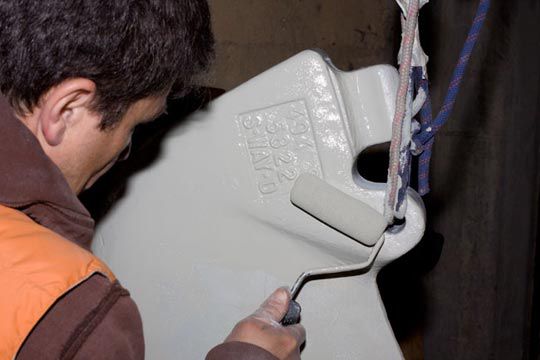
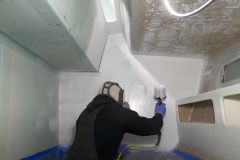
Numerous coats (between 5 and 7) of epoxy primer are applied to create a watertight barrier between the cast iron and the water. These layers can this time be applied with a roller. Allow to dry between 6 hours and 30 days max. between coats. Ideally, you should have a diaper every morning for a week.
Step 7: The antifouling to finish
Treatment time: ½ hour just for the keel (but usually applied to the whole hull)
Once the epoxy primer is dry (at least 24 hours), the antifouling is applied in two coats. Generally, antifouling is not limited to the keel, but to the entire hull.
TIPS
- Observe the drying times between coats. Be careful, epoxy is applied on so-called wet coats (do not wait for complete drying before applying the next coat). Do not exceed the maximum time between coats.
- The treatment of a keel is a "long-lasting" operation given the number of coats to be applied. Allow about 10 days between the first turn of the disc grinder and the last coat of antifouling.
SMALL REPAIRS
The epoxy treatment of a keel is not eternal. You can see some rust reappearing. This is all the more true as the melting of the keel spits out water irremediably (it is never really dry). In this case, it is possible to carry out partial processing that repeats the steps described here, but in delimited areas.
