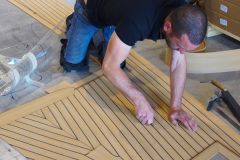
Kiwi Grip is a simple solution to renovate any deck surface that needs anti-slip. It is a type of coating that remains very hard when drying. The anti-skid pimples are created with a plaster roller.
The advantage of Kiwi is that it requires no preparation. There is no need to sand or paint with a special primer before application. It can be applied directly to any type of deck. Just mask the edges for a clean, straight finish.
In our example, we have renewed the anti-skid of this old sailboat. The original diamond tip was very dull and no longer acted as an anti-skid. In different points, the crazing was not aesthetic either. A simple coat of Kiwi Grip restored the deck to its former glory.
Apply Kiwi Grip in 8 steps:
Step 1 ‚euros The material
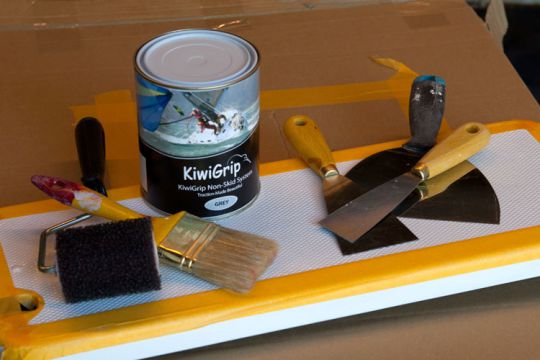
To apply Kiwi Grip, all you need is a jar of the product (it's a single component ready to use), a spatula and a plaster roller (provided by Kiwi Grip). The brush shown in the photo will not even be used (but you can use it to apply the product) and we will only use one spatula.
Step 2 - Do some tests
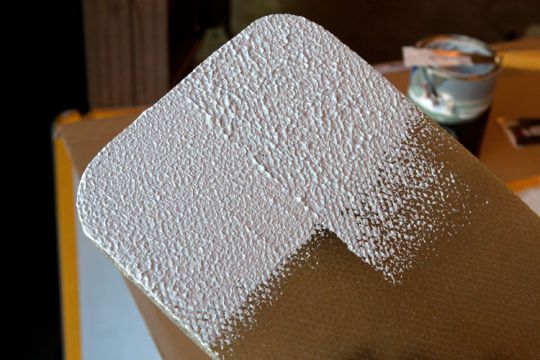
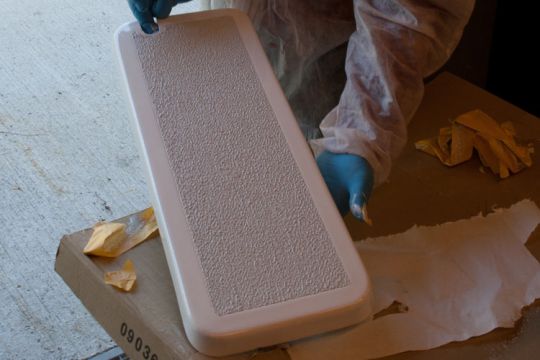
The type of grain obtained depends on 2 elements: the thickness or the quantity of the product put on the deck and the pressure on the roller during the application. It is therefore advisable to do some tests before starting on a large surface. A simple cardboard box allows you to test yourself. As you can see on the picture, we did not press the roller in the same way on the left and on the right. It's up to you to adjust according to the final result you want.
Step 3 ‚euros Apply with a spatula (or brush)
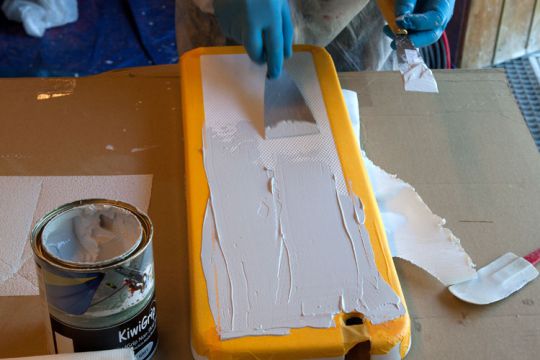
Kiwi Grip is applied evenly with a spatula. Make sure to apply a few even layers. Take your time, the product does not dry quickly.
Step 4 ‚euros Roll evenly
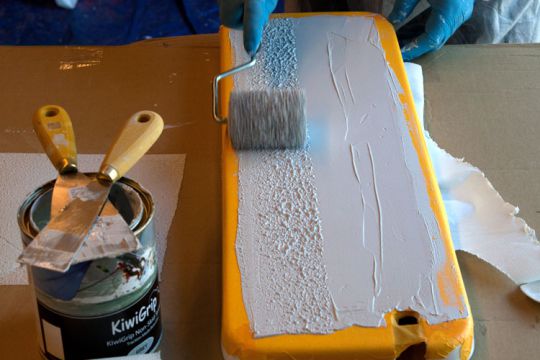
The way you roll will define the finish of the non-skid. Therefore, it must be done in a uniform manner. To have a final unity, it is not advised to do it with several people. Each one has his own way of apprehending the roller.
Step 5 ‚euros Repeat if necessary
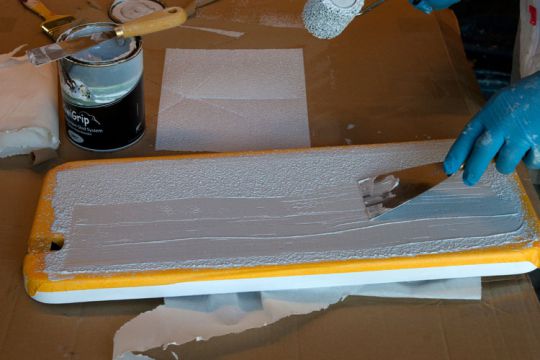
The advantage of the Kiwi Grip is that it gives you a second chance (or even a third!). You don't like the result? Too much or not enough grip? Take your spatula and spread the Kiwi Grip again before rolling again. Isn't that magic?
Step 6 ‚euros In detail
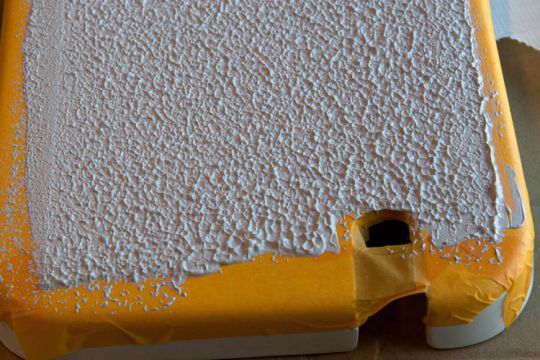
Applied directly without any sanding, Kiwi Grip makes the diamond tip completely disappear. New color, new finish, new bridge!
Step 7 ‚euros Remove the protections
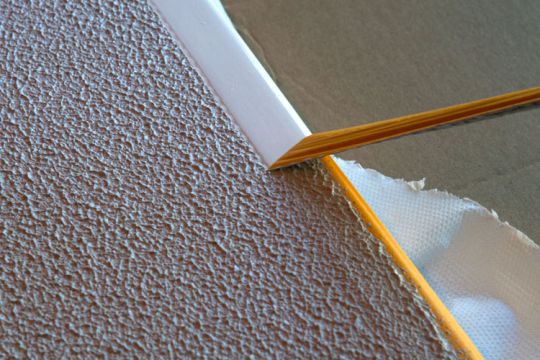
It is recommended to remove the masking tape before the product is completely dry. If you wait, you risk damaging the Kiwi Grip.
Step 8 ‚euros Final result
Now we have to wait for it to dry before we can walk on it. But the ease of application, the masking ability of the product and the final result are delightful.
- Kiwi Grip is available in 5 colors in 1 or 4 l pots.
- Kiwi Grip 1 l, covering power from 2 to 4 m2, 66,00 euros at the ship
- Distributed in France by Seaview Progress


